Having a walk and taking some pictures with Amparo after eating in the Plaza Mayor (Mallorca, Spain)
Especialista en Producto y Marketing. Escritor a ratos. Emprendedor en serie.
Having a walk and taking some pictures with Amparo after eating in the Plaza Mayor (Mallorca, Spain)
Alex Guerra’s Tumblr: Moodyo: Behind the code
16 Maven projects, 2,836 files, 321,536 lines, 36,389 lines of Java code, 7,043 lines of Java comments, 1,430 Java methods, 512 Java classes, 58 Java packages, 152 XML files, 8,869 lines of XML code, 31,628 lines of HTML/Javascript code, 6,677 lines of CSS code, 14,942 lines of translations,…
Hello friends. We’ve added 2 buttons to our site: one has a white little bird over a blue background; the other features only a white “F” over a navy blue background. Of course, Twitter and Facebook are now really integrated in Moodyo.
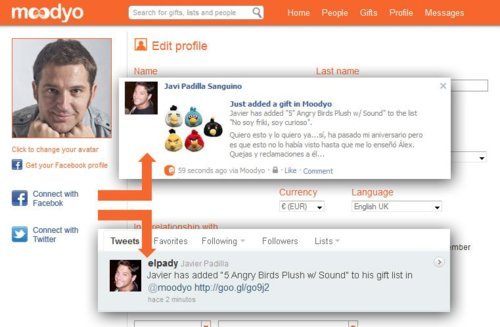
What are those buttons useful to?
1) You can share an item you’ve just added with your friends and/or followers, in Facebook and/or Twitter, at the same time, with just one click. This also applies to gift lists or status.
2) You can customize the messages to fulfil your needs. We will include everything else: the link to your item, list, status, etcetera.
3) When someone shares one of your public lists you’ll get extra points to be listed in the Top of the Trending Lists.
4) If you are a Trend Setter (or even a shop…), you can promote your public lists with items using Facebook and Twitter. The more people “Sharing” and “Retweeting” your posts, the higher the position your lists will appear.
Hope you find those buttons useful. We’re working on more features that will be available so soon. Stay tuned.
Thank you 🙂

We have a new avatar for “baby” users 😉
Some things you can do with your favorite gift lists…
If you’re browsing the items of a public gift list and you like its content you may want to “Hype” it or perform these other actions:
1) Hype > You’ll be voting this list and giving some points to its creator. That will help him/her to access the “Trending Lists” Top.
2) Copy > Click here if you’d like to have a customizable copy of the list. You’ll have the chance to invite other people and change its original settings.
3) Follow > If you click on “follow”, this list will be listed in your favorite lists.
Once upon a time, I was a teacher at the university with a bunch of students learning both web and graphic design. They usually wanted to launch Illustrator, Photoshop or Dreamweaver and start designing the project they had in their minds. Wrong.
I always used to tell them about how important is the first step after having a good idea: to make a sketch with paper and pencil. No colours needed at this stage.
This is specially important for a web designer. And sometimes we forget this because of deadlines. And here’s the first advice by my side: never miss this first mandatory step or prepare to waste a lot of time later with corrections…
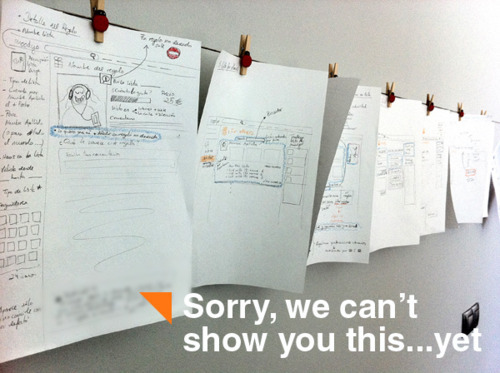
We sketched almost every page of the new Moodyo site. Alex, Rui and myself joined around a table for days and we discussed about what was right or wrong (in our opinion…) for usability, ease of use, etcetera. I also designed the first drafts of the “MooMachine”, that big machine in our public home page that virtually shows the activity inside Moodyo. Another useful tip is to use colors to give different priorities to the different features. We used three levels: blue for “high”, green for “medium” and pink for “low”.
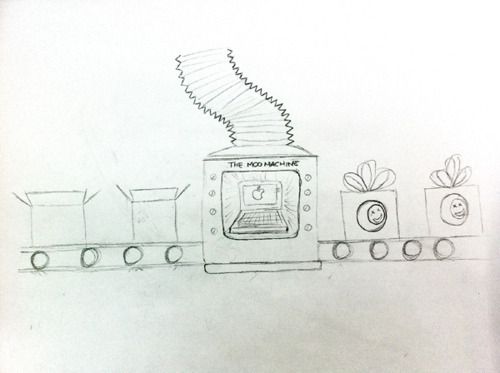
After we made all the drawings, we built all the vectors and bitmaps in Illustrator and Photoshop. We coloured the layouts and moved every pixel to its right place. And, of course, we changed the colour schema many times. But the basic structure it’s strong. There will be for sure some modifications in the next weeks but we have a path to follow.
Here I’ve attached some pictures showing the drawings we made in the first designing stages. Hope you like it.